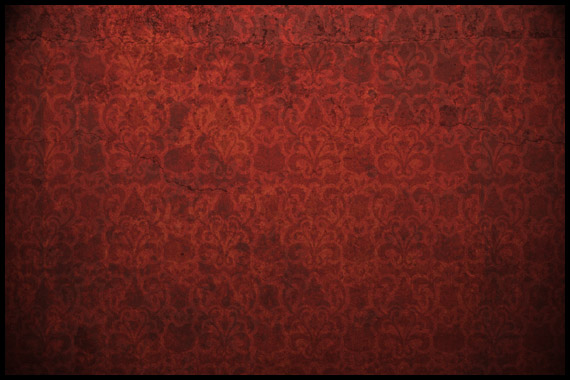
Combining Vectors And Textures For A Background With Depth
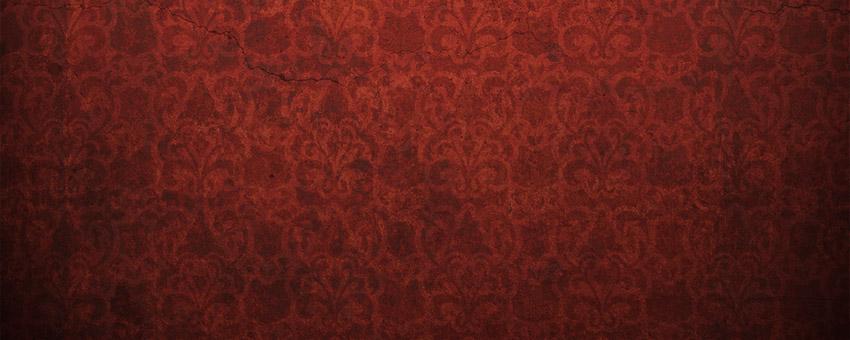
One of the easiest ways to make your designs pop is to add some texture and depth to the background. As with many things in Photoshop, there are multiple ways to do this, but by combining a few simple techniques and exercising some creativity, you can create a background for almost any situation.
We are going to combine vectors and textures on top of a flat color and use filters and layer blending modes to create a background with some depth.
Download Tutorial Source Files
If you want to see how this background was put together, or just want to download it for your own use, you can download the source files for this tutorial here, including high resolution copies of all the vectors, patterns, and textures that were used.
What You Will Be Making
Step 1
Create a new Photoshop document at 1920 x 1280. This will allow you to use whatever background you create as your desktop background on larger monitors.
Unlock the Background layer by double clicking on the layer in the Layers palette and clicking OK.
Fill the background with the color #6E2C25.
It looks amazing so far, right?

Step 2
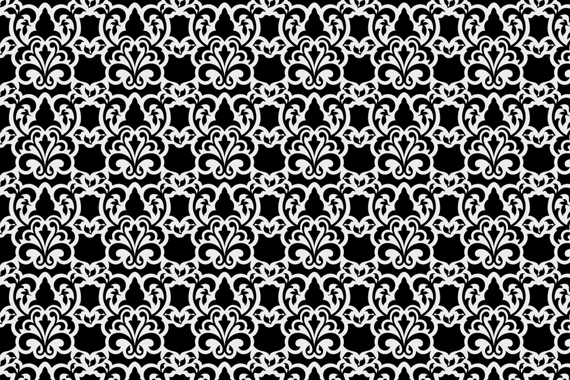
Find a tileable vector pattern (we used our Floral Pattern 2), change the colors of the pattern to black and white, and save it as a raster file. You can use the low res version below to follow along if you'd like.
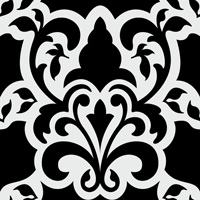
Open the raster file in Photoshop, press CTRL + A to Select All, and click Edit > Define Pattern to convert it into a Photoshop pattern that you can use within the layer Blending Options.
Step 3
Create a new layer and fill it with white. Double click the layer to open the Layer Style dialog box. Check the box for Pattern Overlay and select the pattern we created in step 2. Adjust the Scale to the whatever size you would like and press OK.
Right click the layer and select Convert to Smart Object.
Step 4
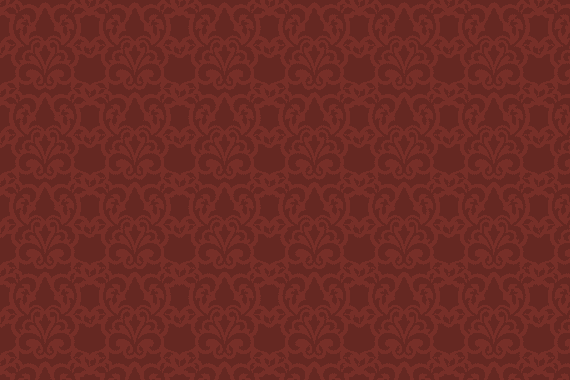
Change the blending mode of the layer to Overlay with an Opacity of 9%.
Step 5
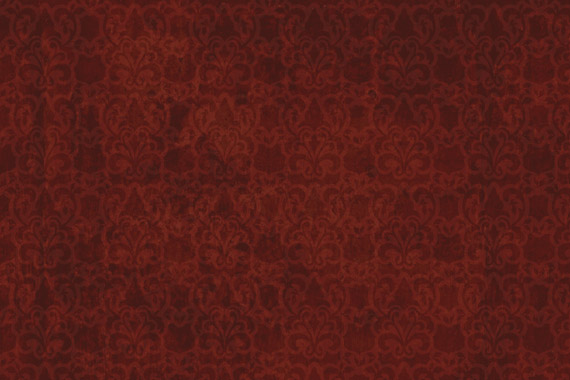
Find a grunge texture (we used our Concrete Texture 12) and paste it into your document as a new layer. Change the layer Blending Mode to Linear Burn with an Opacity of 35%.
Step 6
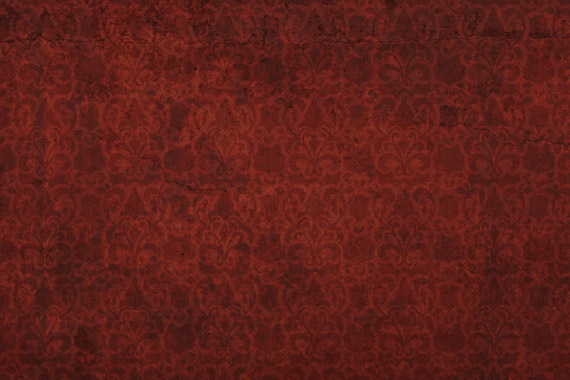
Find another grunge texture (we used our Concrete Texture 23) and paste it into your document as another new layer. Change the layer Blending Mode to Overlay with an Opacity of 35%.
Step 7
Create a new layer and fill it with a medium gray color. We used #979797.
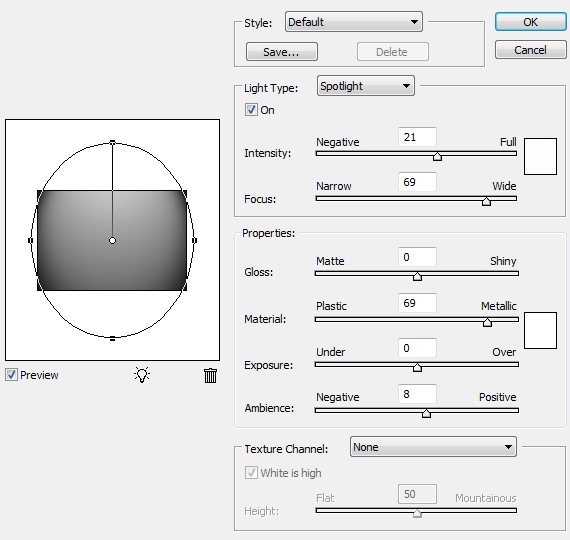
Click Filter > Render > Lighting Effects and use settings similar to the ones below.
Final Image
Change the blending mode of the lighting effects layer to Overlay with an Opacity of 90% and you are done.
Extra Tips
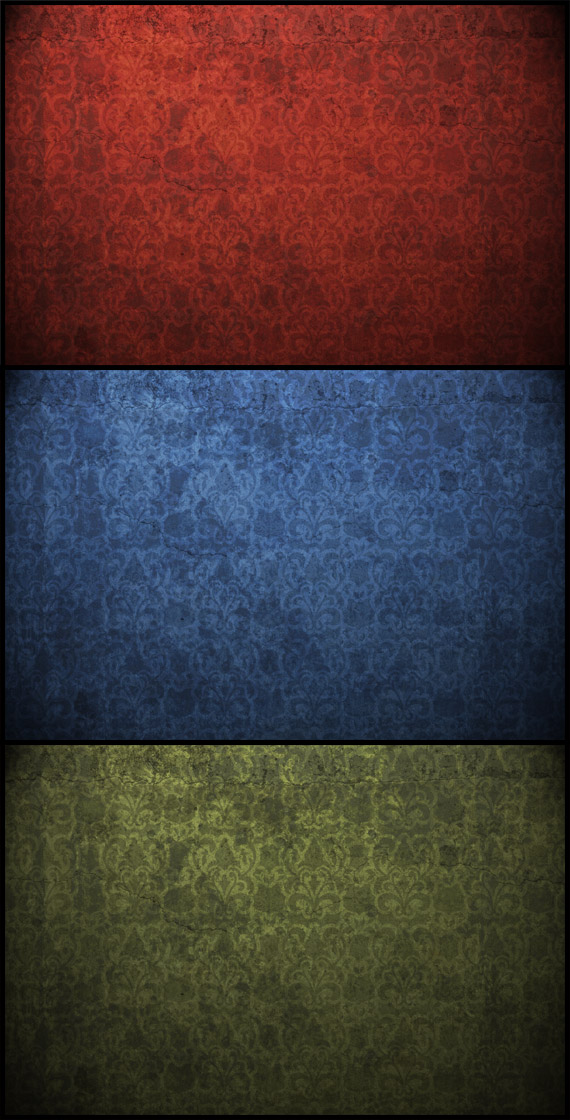
You can now change the color of the bottom layer to create a series of different backgrounds as well as add or delete grunge layers to give it a different look.
Download Tutorial Source Files
If you want to see how this background was put together, or just want to download it for your own use, you can download the source files for this tutorial here, including high resolution copies of all the vectors, patterns, and textures that were used.


