How to Add a Blurred, Glossy Reflection to Plain Product Photos

Product photos on a plain white background are an industry standard, but they can sometimes look a little bland, especially if you need to use them in an advertisement.
This tutorial will teach you how to added a glossy, blurred reflection to an image using Smart Objects, layer masks, and filters.
- Software Used: Photoshop CC
- Skill Level: Intermediate
- Time to Complete: 30 Minutes
What We'll Be Creating

Step 1
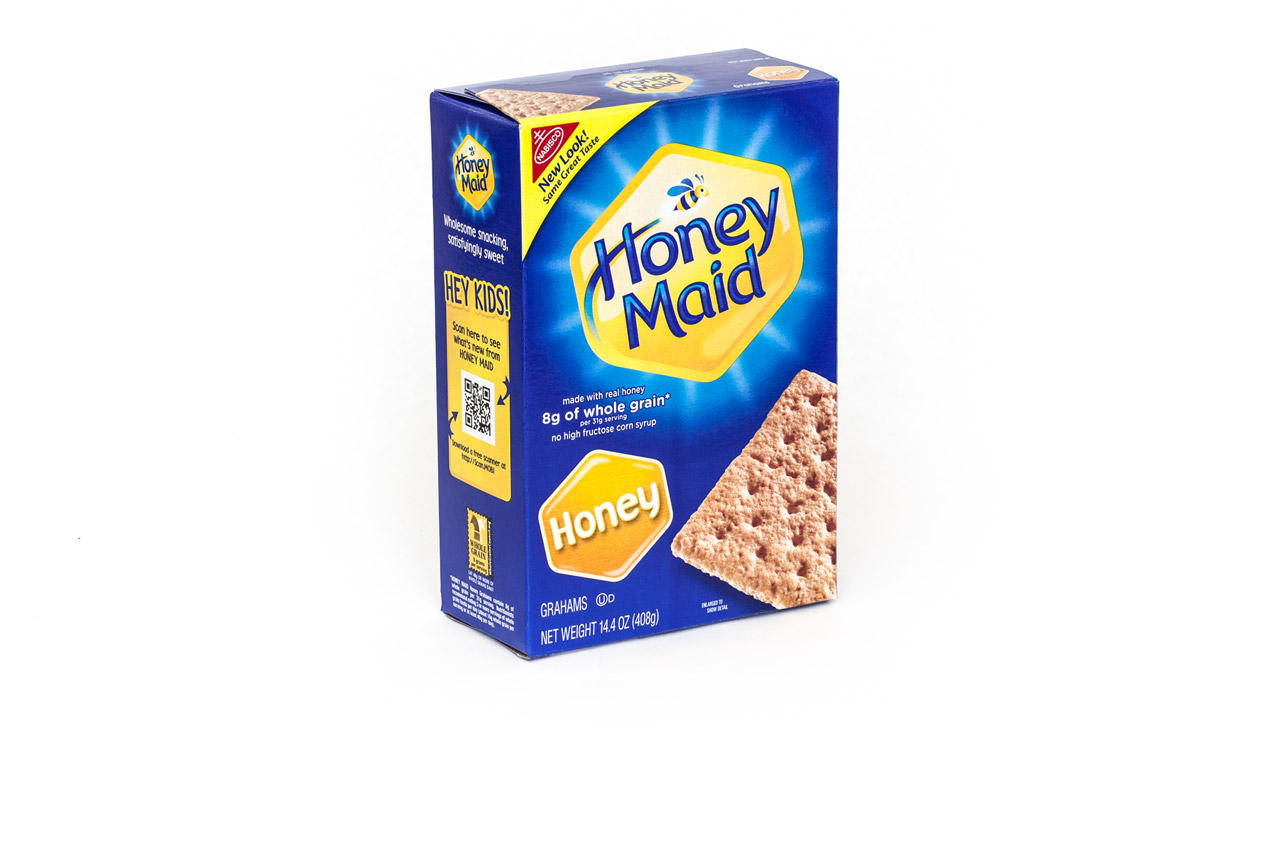
We're using an image of a basic product box on a seamless white background. Click the image to view the full size image that you can use to follow along.
Select the Quick Selection tool by pressing W or clicking and holding on the Magic Wand tool in the left toolbar.
Click and drag over the white background in the image to make a rough selection of the entire backdrop. Click and drag on any small areas to add them to your selection, or ALT + click and drag to remove them from the selection. The better the initial selection is, the more believable the final effect will be.
Click the Refine Edge button in the top toolbar and use the following settings.
These settings will smooth out the selection. Feel free to adjust each setting to see what they do.
Step 2
Right click the canvas and choose Select Inverse to invert the selection. Then press CTRL + C to copy and CTRL + V to paste the cut out box onto a new layer.
Hiding the original image will make the next steps easier.
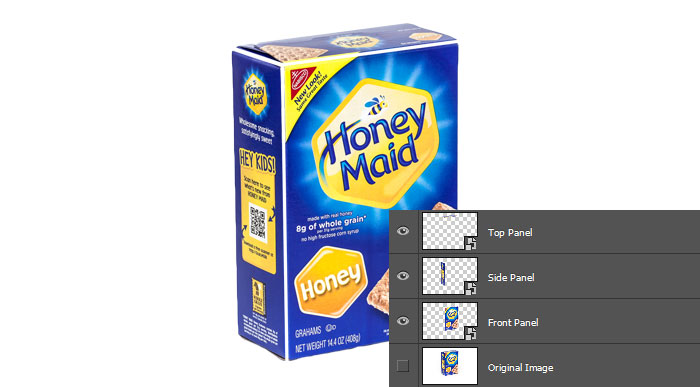
We want to split each panel of the cut out box into a separate layer. Select the Polygonal Lasso tool by pressing L or clicking and holding on the regular Lasso tool in the left toolbar.
Make a selection of the top panel of the box and press CTRL + X to cut it, and CTRL + SHIFT + V to paste it into its original position, but on a new layer.
Right click the top panel layer in the Layers palette and convert it to a Smart Object, then hide it.
Repeat the process to cut out the side panel, making sure to convert it into a Smart Object too.
Finally, convert the front panel layer into a Smart Object as well.
You may need to nudge the top panel down 1 pixel and the left panel to the right 1 pixel to close any visible seams.
The image below shows the panels spaced apart to show that they are individual Smart Objects on separate layers.
Step 3
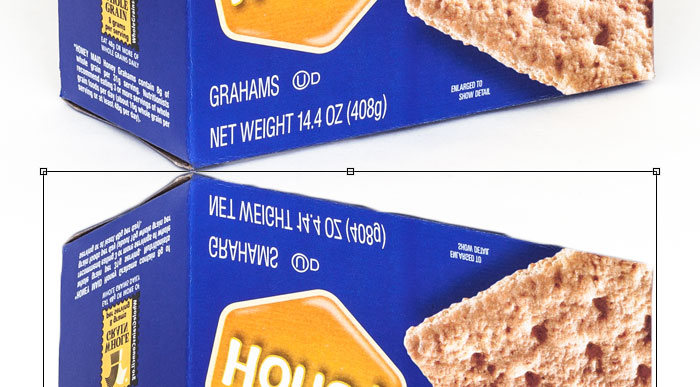
Create a new Layer Group and name it "Reflection". Move the 3 separate panel Smart Objects into the new Layer Group.
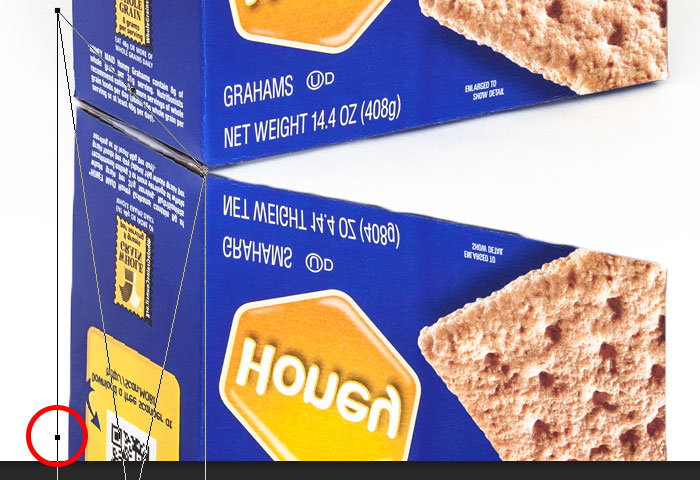
Select the "Reflection" group in the Layers palette, then press CTRL + T to enter Free Transform mode. Right click the canvas and choose Flip Vertical.
Drag the Layer Group down until the bottom corner of the original box and the top corner of the "Reflection" group appear to touch, and press Enter.
Step 4
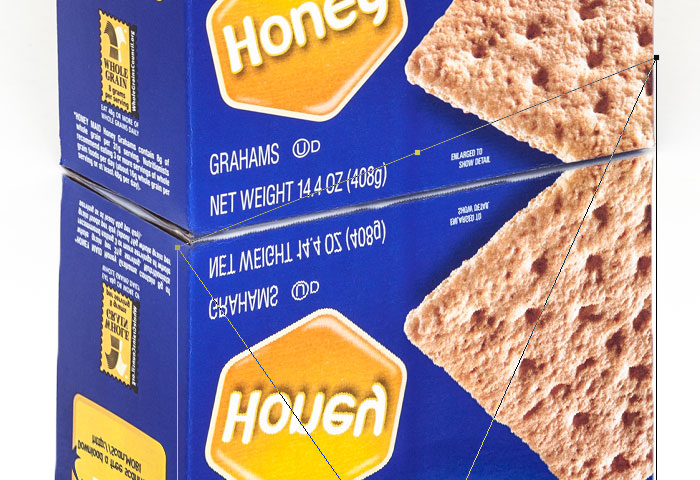
Select the side panel, press CTRL + T to enter Free Transform mode, and then right click the canvas and choose Distort.
Click and drag the center left handle vertically to skew the side panel layer to match up with the original image, then hit Enter.
Step 5
Do the same for the front panel layer. You may need to move the entire layer up or down to align it properly.
We're not going to worry about the top panel because it won't be visible. You can leave it in the document or completely delete it, we've left it in just in case.
Step 6
Select all the layers within the "Reflection" group, but not the actual Layer Group itself. Right click them in the Layers palette and convert them into a single Smart Object.
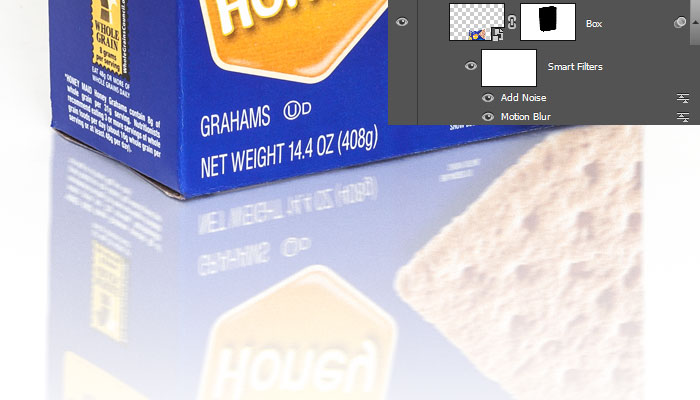
Click Filter > Blur > Motion Blur and give it a blur of 5 pixels with the angle set to 0.

Step 7
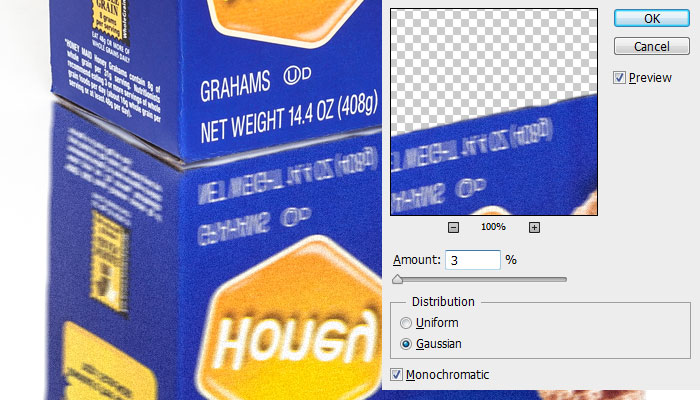
Click Filter > Noise > Add Noise to add some noise to the Smart Object. We have the amount set to 3%, the distribution set to Gaussian, and Monochromatic checked.
Step 8
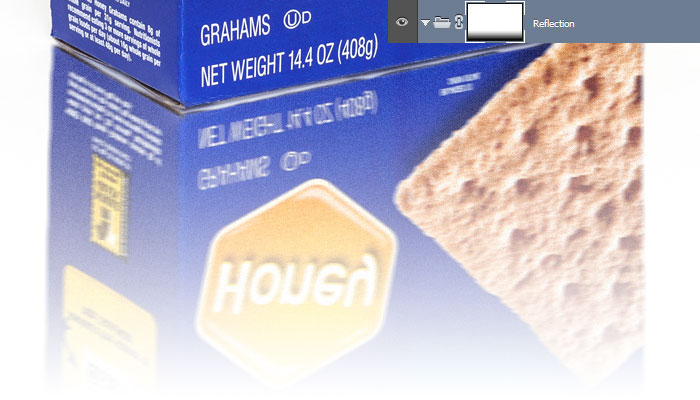
Add a Layer Mask to the "Reflection" group. Select the Gradient tool by pressing G or clicking and holding on the Paint Bucket tool in the left sidebar. Make sure the gradient is set from white to black, and drag from the bottom of the canvas to the top of the "Reflection" group. This will make the "Reflection" group fade from transparent to opaque.
Step 9
Set the Blend Mode of the "Reflection" group to Multiply and the Opacity to 35% in the Layers palette.
Select the Smart Object within the Layer Group and move it up about 5 pixels, or until there's no more white space between the original image and the reflection we've created.

Step 10
Lastly, we need to mask off our reflection so it doesn't overlap on our original image. It's almost unnoticeable, but should be done anyways.
Highlight your original image in the Layers palette, and with the Quick Selection tool, click and drag on the white background again to make a selection. Then right click the canvas and choose Select Inverse.
Next, highlight the Smart Object within the "Reflection" group and add a Layer Mask using the Layer Mask button at the bottom of the Layers palette.
Photoshop will use the current selection to create a Layer Mask. Finally, press CTRL + I to invert the Layer Mask so that anything outside the original image's box shape will be visible, while anything overlapping the original box will be invisible.
Final Image
The workflow to product realistic, blurred glossy reflections is pretty straightforward, but may take a few minutes to complete.
With practice, you should be able to reproduce this effect in 5 minutes or less, even with more complex objects.
When you're working with something more complex than a box, you may need to split your reflection up into smaller pieces, or use something like the Pupper Warp effect to distort your reflection and make it look more realistic.
Did you use this tutorial to enhance a product photo of your own? Share it with us!