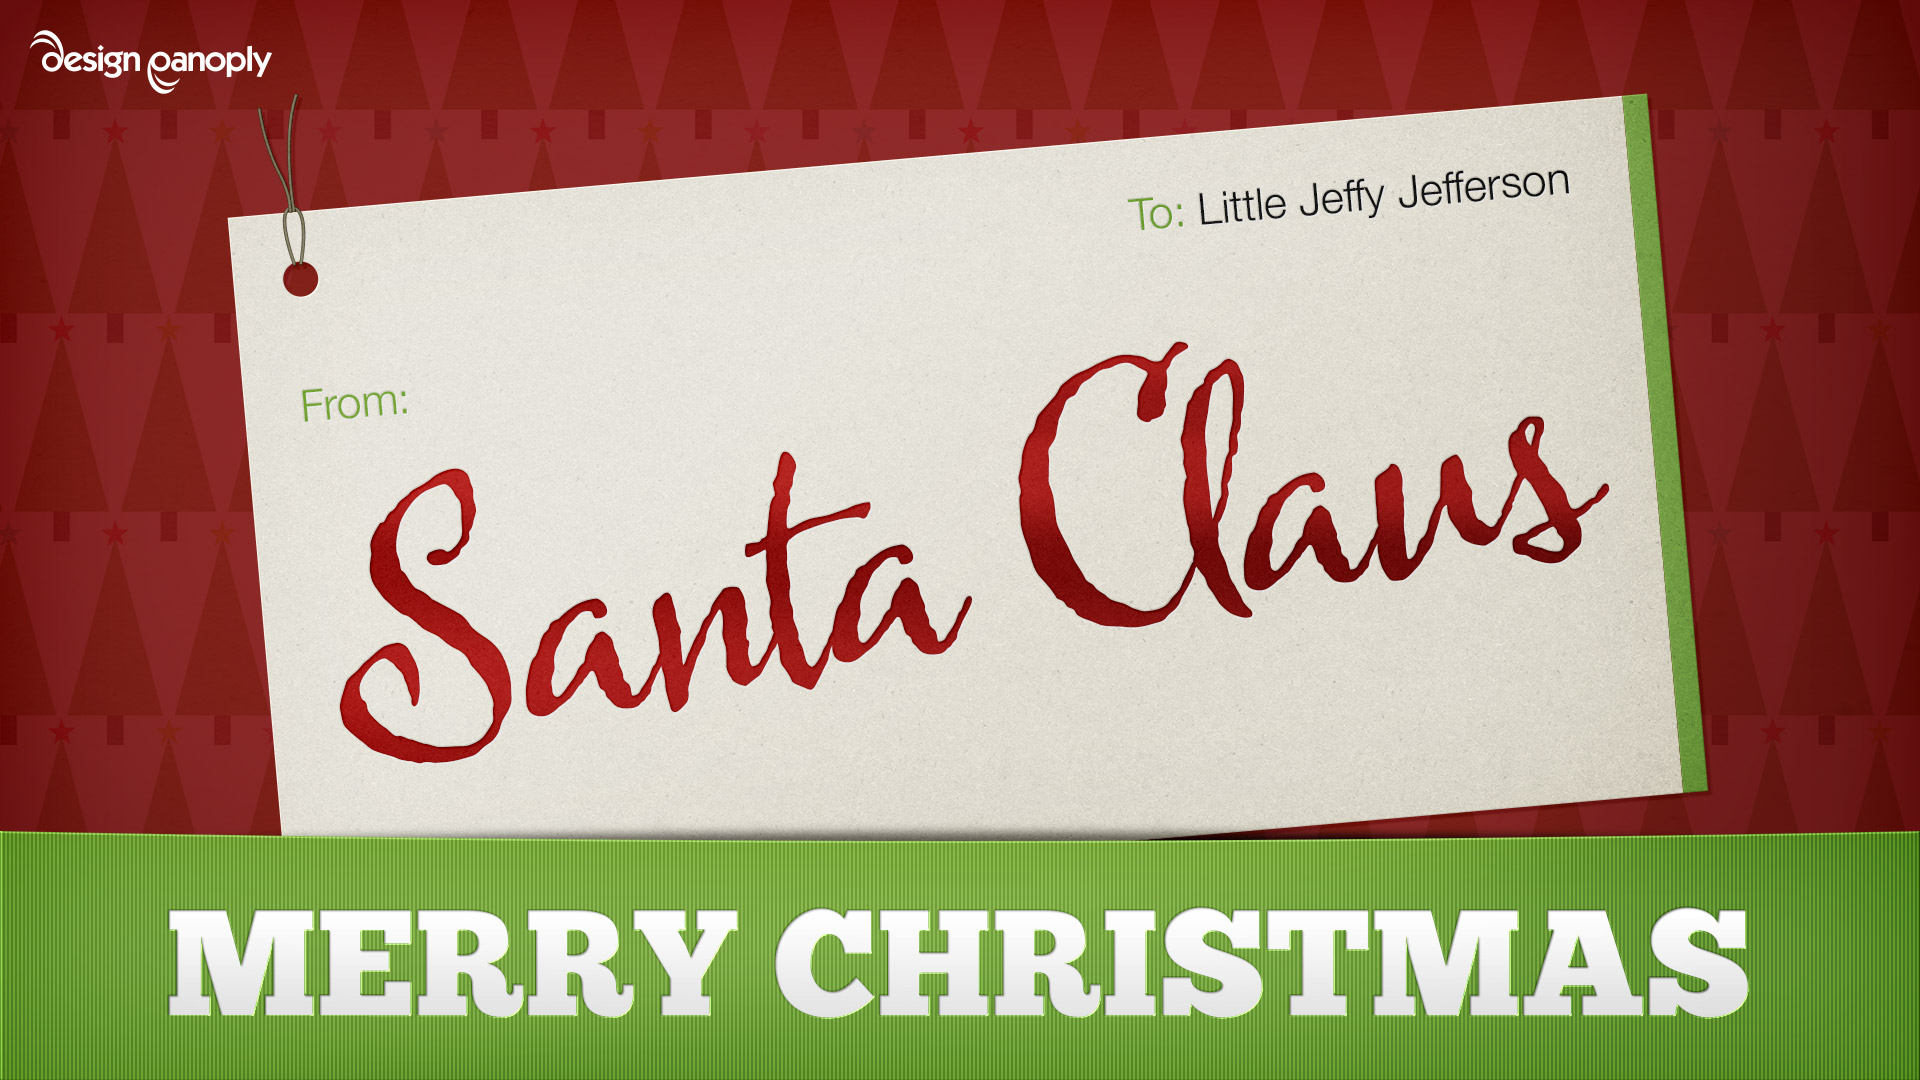
How to Create a Colorful Christmas Gift Name Tag in Photoshop

Watch Video Tutorial
Download full HD videos and tutorial project files with a PanoPass. You'll also get instant access to everything on the site, including products, and more.
When the holidays roll around, you could always visit the same old websites your friends do to send out Christmas cards, or you can spend a little time in Photoshop and make something truly unique.
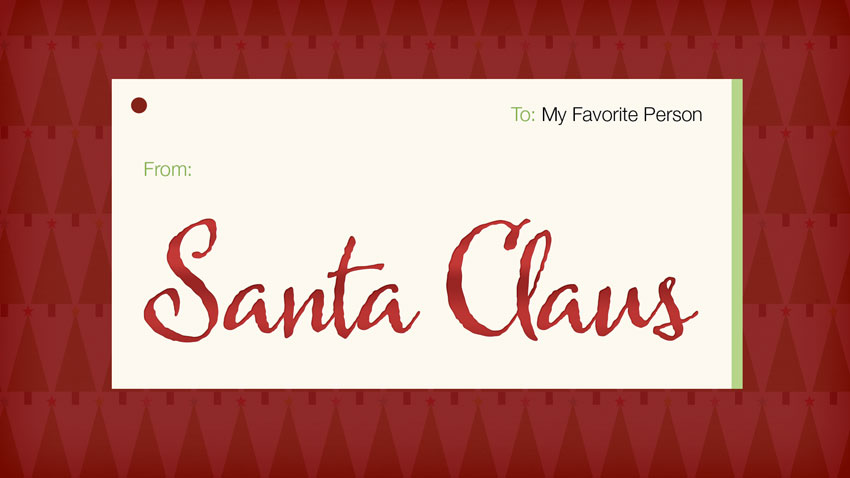
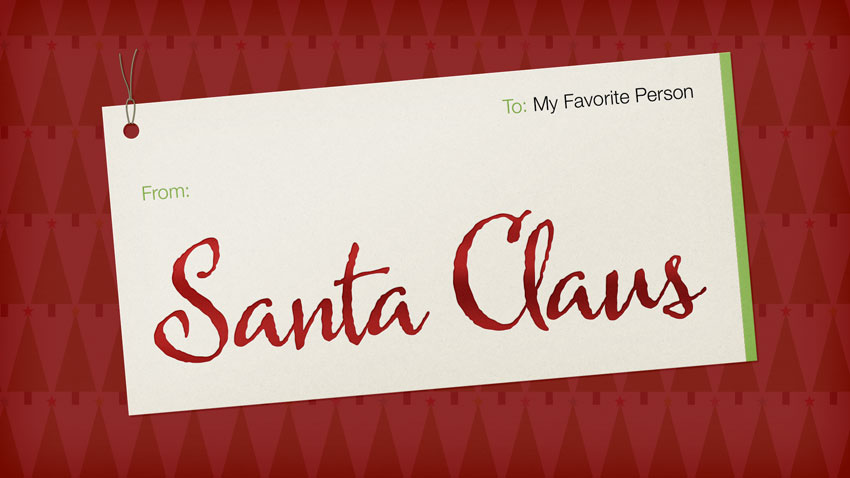
In this tutorial you'll learn how to make a colorful Christmas gift name tag in Photoshop that looks just like the ones you see in real life under the tree.
A design like this is perfect to send along to friends and family along with something like a digital gift card, or just to wish people a Merry Christmas on Facebook or via email.
Step 1
Create a new document at 1,920 x 1,080 pixels.
Place your background into your document by dragging it onto your canvas. PanoPass members can find the background we're using in the project files.
Scale it up until it covers the entire canvas. Right click the background layer in the Layers panel and select Rasterize Layer.
Finally, press CTRL + A to select your entire canvas, then click Image > Crop to crop your background.
Step 2
Double click your background layer to open the Layer Style dialog.
Apply the following layer style settings, using the color #821313 for your Color Overlay.


Step 3
In the left toolbar, change your Foreground Color to #FCF9EF. Using the Rectangle tool, and making sure Shape is selected in the top toolbar, create a Rectangle that is 1,400 x 700 pixels and drag it roughly into the center of your canvas.

Step 4
Select the Ellipse tool. Holding ALT, click and drag to start drawing a circle in the top left corner of your rectangle. Before releasing the mouse button, hold SHIFT to make sure your ellipse is perfectly round. When you release the mouse button, your ellipse should be subtracted from your rectangle shape.

Step 5
Using the Rectangle tool, create another rectangle that's 25 x 700 pixels. Drag it over and snap it into place along the right side of your original rectangle. Change the color of this thin strip to #B6D58A.

Step 6
Set your Foreground Color to #82B348.
Using the Type tool, create a "To" label and place it in the top right corner. Highlight the name of the person the card is to and change it to black.
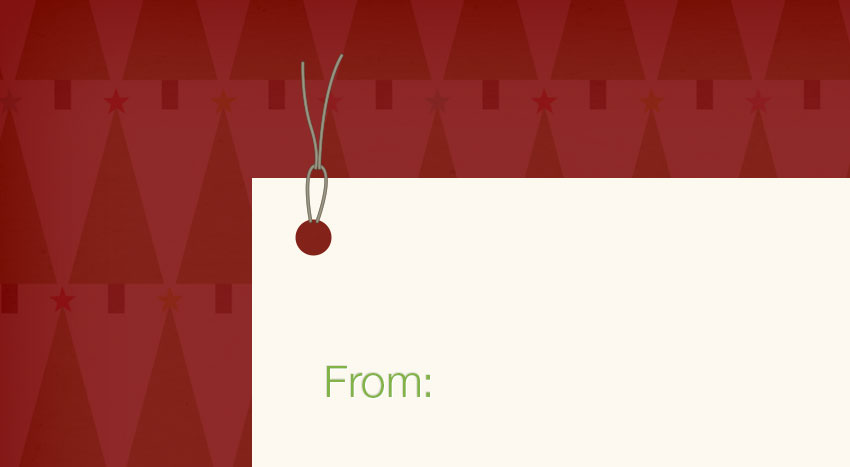
Create a "From" label and place it towards the left side of your card.
Apply to the following Layer Style settings to both of your text labels.

Step 7
Create your "From" name using a large script font using the color #A32A28. We're using the font Harlean.
Apply the following Layer Style settings to give it some more depth and a foil-type look.
The Gradient Overlay doesn't have to use specific colors, just create a gradient that alternates between dark and light shades.
Step 8
Zoom in on the hole in the top left corner. Using whatever tool you like, draw a few strokes, each on a separate layer, to act as string.
I used the Pen tool so I can easily edit the string later, but the Brush tool may be quicker and easier.
Just make sure your string is around 3-4px in width and uses the color #9D9886.
Apply the following Layer Style settings to give the string some depth.
Step 9
Create a new Layer Group named "Card" in the Layers panel and move everything except your background inside.
Select the "Card" Layer Group and press CTRL + T to enter Free Transform mode. Rotate the entire card about -5 degrees.

Step 10
Double click the "Card" Layer Group in the Layers panel to open the Layer Style dialog. The styles we use here will affect the card as a whole, rather than the individual items.
Apply the following Layer Style settings.
For the Pattern Overlay, we're using this paper pattern found at SubtlePatterns.com, which is also included in the project files.

Step 11
Create a rectangle that is 1,920 x 250, using the color #85B14D, and move it to the top in the Layers panel, making sure it's outside the "Card" Layer Group.
Using the Pen tool, add a point to the center of the top line of your rectangle and while holding SHIFT, press the down arrow to move that point down 10 pixels.

Step 12
Next we need to create a Pattern to use on our green ribbon shape.
Create a new document that is 4 pixels wide and 1 pixel tall. Zoom in to about 3200%.
Using the rectangle tool, create a black rectangle that covers the left 2 pixels of your document.
Click Edit > Define Pattern and give it a name.
You can also use the image below and resize it to 4 x 1 pixels before defining it as a pattern.

Step 13
Double click the green ribbon layer and apply the follow Layer Style settings, using the pattern we just created for the Pattern Overlay.


Step 14
Create some white text on top of the green ribbon at the bottom. We're using the font ChunkFive.
Apply the following Layer Style settings.

Step 15
Using the Ellipse tool, create a black ellipse that is 1,920 x 50 pixels. Center it horizontally in your document, and align the center point vertically with the top center point of your green ribbon.
Right click the Ellipse int he Layers panel and convert it to a Smart Object. Click Filter > Blur > Gaussian Blur and give it a blur of 5 pixels.
Move it beneath the green ribbon layer in the Layers panel, then set the Blend Mode to Linear Burn and the Fill to 50%.
Move the shadow down until it's barely peeking out from behind the green ribbon layer.

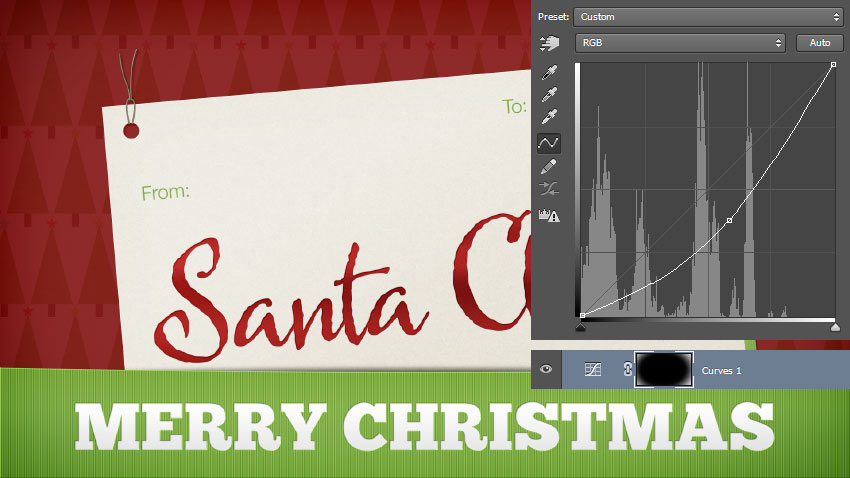
Step 16
On top of all your other layers, create a Curves Adjustment Layer.
Bring the center of the curve down and to the right. Give the Adjustment Layer a Layer Mask if it doesn't already have one.
Using a soft black brush, paint in the center of the Layer Mask so the Curves Adjustment Layer only effects the outer edges of your image.
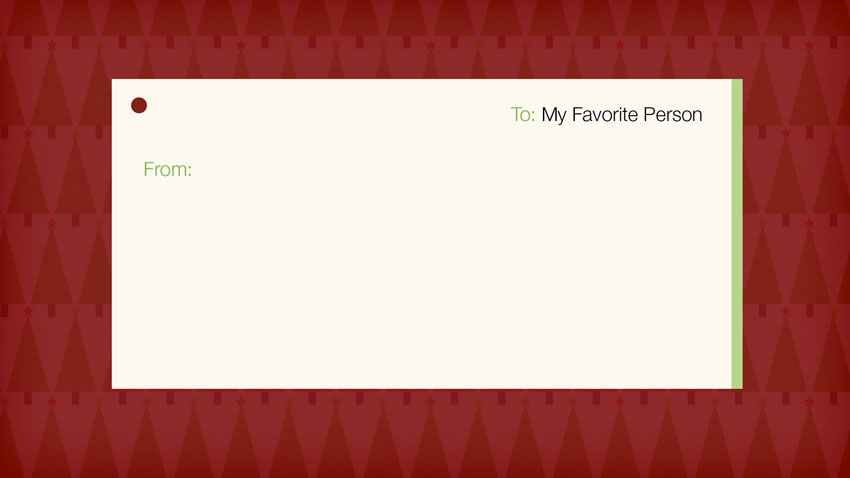
Final Image
Now you can adjust the positioning of all your elements and make any final tweaks.
Were you able to create a custom card to send to your friends and family? Share your version in the comments.
Related Items
Grab a PanoPass now and get instant access to all these items and much more.
