How to Create a Vintage Photo Effect in Lightroom

Watch Video Tutorial
Download full HD videos and tutorial project files with a PanoPass. You'll also get instant access to everything on the site, including products, and more.
With all the new technology, it can sometimes be nice to harken back to the past with retro or vintage photo effects. There's a reason Instagram is so popular.
Many photographers hate Instagram because it feels too "automatic". This tutorial will teach you how to manually create a vintage photo effect in Lightroom.
Step 1
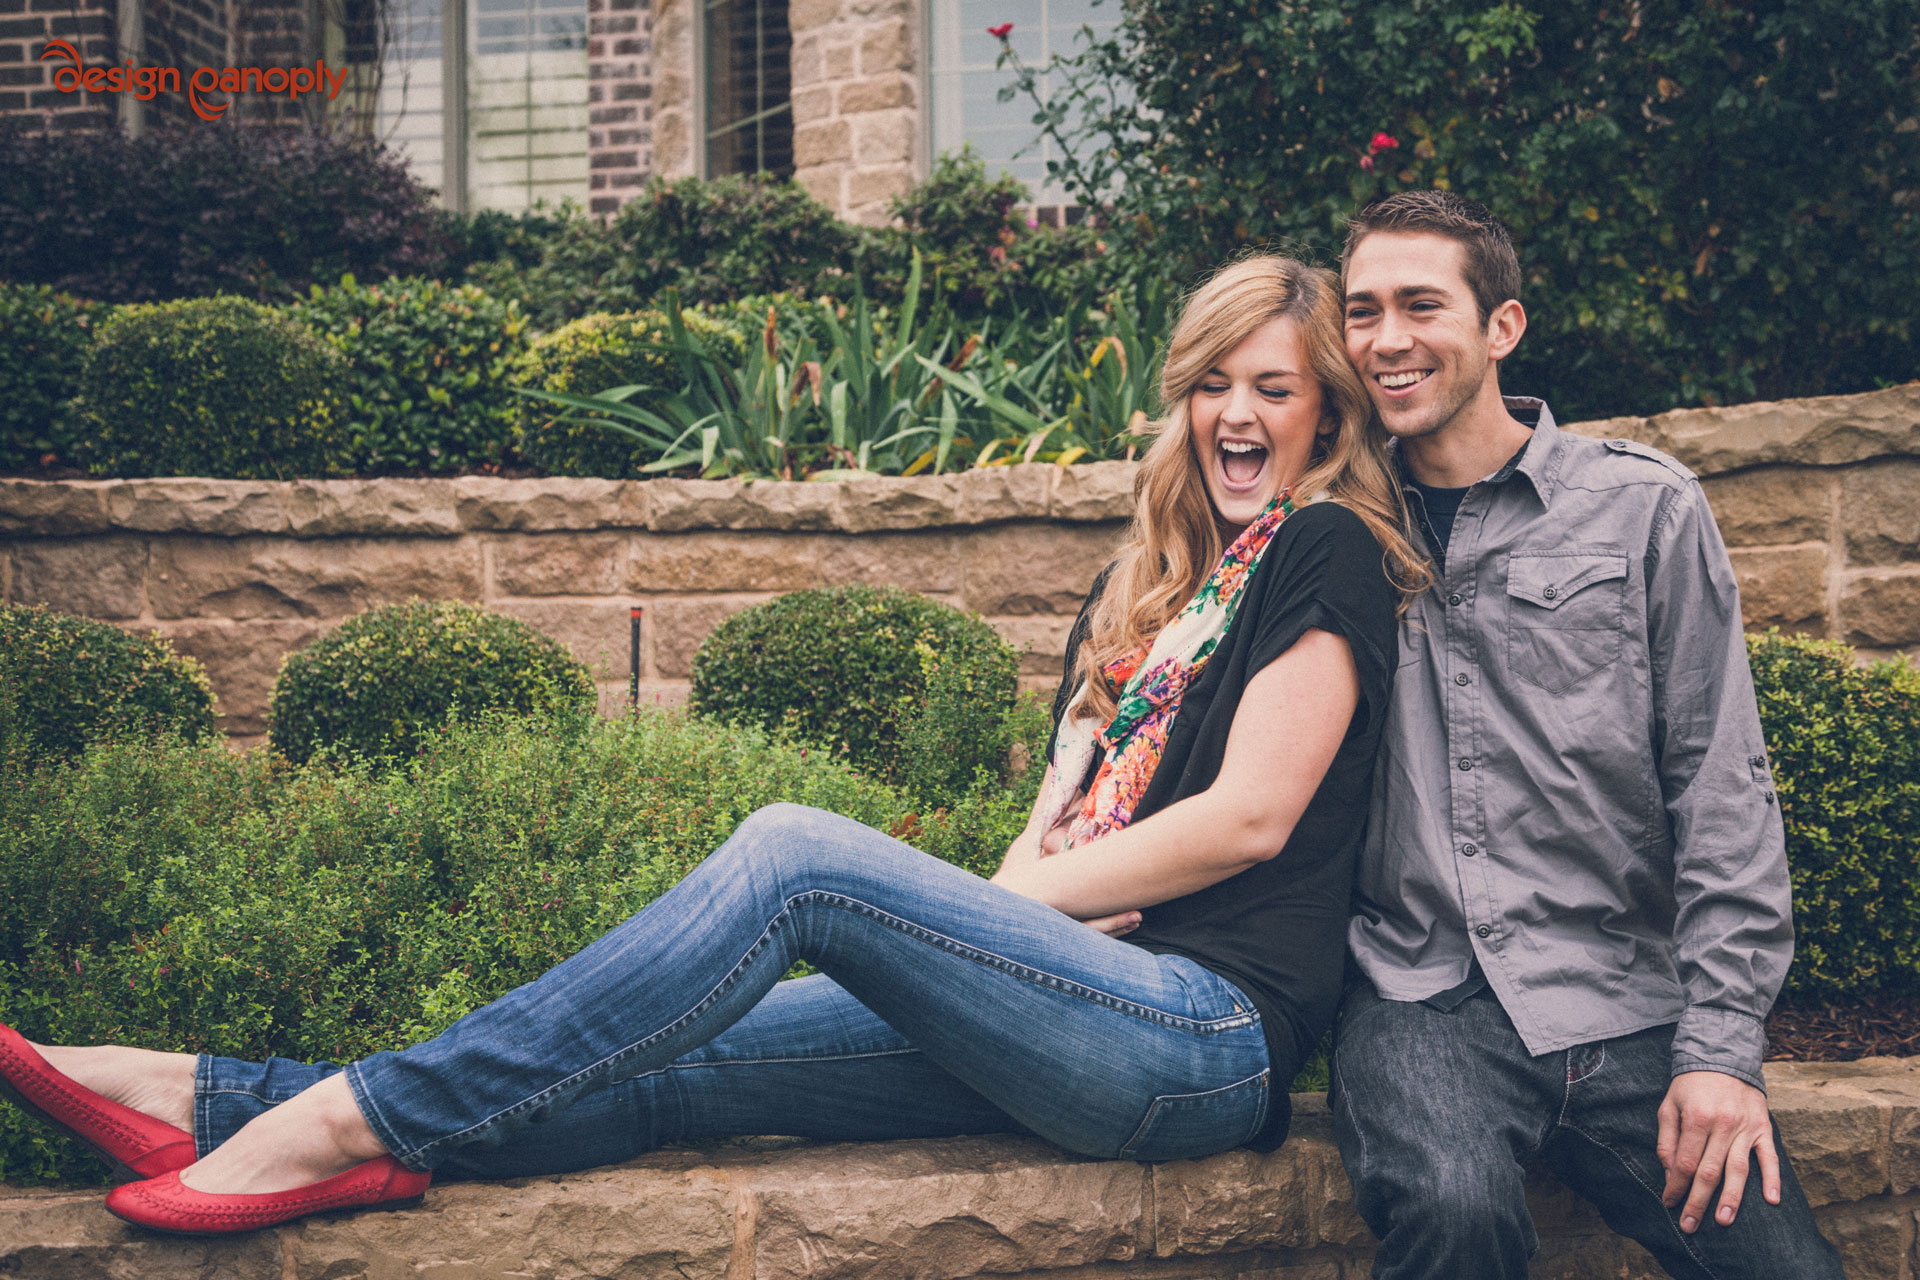
Since we're working with a RAW photo, I've already processed the image a bit to give an attractive, but neutral look.
We'll be tweaking our settings from there, so if you're working with a photo of your own, you may need to do some basic processing before you get started.
To make the image a little "flatter", bring the Shadows up quite a bit. We're using a value of +60.
Old photos lack the color that newer photos have, so we'll take both the Vibrance and the Saturation down just a bit to -5 each.

Step 2
Open the Tone Curve panel and click the Point Curve icon to switch from Tone Curve to Point Curve mode. Now we can work with the curves just like we do in Photoshop.

Set the curves for the RGB, Red, and Blue channels to match the ones below. We won't be changing the Green curve.
This brightens and adds some blue to the shadows, and darkens and adds some red to the highlights. Subtle changes across the different channels add up to a more dramatic effect.

Step 3
In the Effects panel, bring the Post-Crop Vignetting Amount down to -20 and the Midpoint to 60. Make sure the Style is set to Highlight Priority.
Set the Grain Amount to 25.

Step 4
In the Split Toning Panel, set the Highlights Hue to 50 and the Saturation to 10. Set the Shadows Hue to 250 and the Saturation to 10. This will make the image slightly more monochromatic, which is a traditional quality of vintage photographs.

Final Image
Most of the heavy lifting in this effect is done with the Point Curve adjustments, followed by the slight Split Toning Effect, but the little details all make a difference.
Did you use this technique on a photo of your own? How did it turn out? Show us your version in the comments.
Related Items
Grab a PanoPass now and get instant access to all these items and much more.

