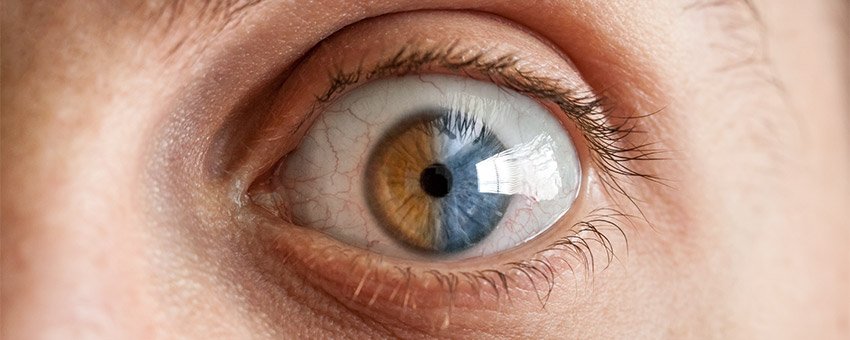
How to Change a Person's Eye Color in Photoshop

Watch Video Tutorial
Download full HD videos and tutorial project files with a PanoPass. You'll also get instant access to everything on the site, including products, and more.
Whether you're looking to enhance the natural beauty of your subjects eyes, change them to a completely different color, or add a rainbow iris effect to an image, you can follow the same basic steps to get there.
This tutorial will teach you how to change someone's eye color in Photoshop non-destructively. When you're done setting up your file, you can swap eye colors in seconds, without having to perform all the steps over again.
The video version of this tutorial uses a couple different steps, but produces the same final product.
Step 1
Open up your source document in Photoshop. Add a Hue/Saturation Adjustment Layer and set the Hue to 180 and the Saturation to -65.

Step 2
If your Hue/Saturation Adjustment Layer doesn't already have a Layer Mask applied, click the "Add layer mask" button at the bottom of the Layer panel to give it one.
Fill the Layer Mask with black to hide the adjustments.Using a soft, white brush, paint over the iris to expose the adjustments in that specific area.

Step 3
Add a Levels Adjustment Layer and increase the contrast by dragging the black stop to 15, and the white stop to 180. To limit the effect to the Layer Mask of your Hue/Saturation Adjustment Layer, click the "Clipping mask" button in the Properties panel to clip it to the layer underneath.

Step 4 (Optional)
Double click the Hue/Saturation Adjustment Layer name in the Layers panel to open the Layer Style dialog. Apply Layer Style settings similar to the ones below.


Final Image
Fine tune the Layer Mask to clean up the overall effect and you're done.
Since everything uses non-destructive editing techniques, you can always go back and change the colors and contrast without starting from scratch.
This method can be used to change the color of other elements as well. How did you put it to use?

