How to Adjust Specific Colors with Hue & Saturation Adjustment Layers in Photoshop

Watch Video Tutorial
Download full HD videos and tutorial project files with a PanoPass. You'll also get instant access to everything on the site, including products, and more.
Adjusting a small range of colors is helpful when you have to match colors between images, or if you just like a photo but want it to match a specific color palette.
Doing this used to require complex selections, but it can now be easily done using nothing but basic selections and a hue/saturation adjustment layer.
In this tutorial you'll learn how to shift the hue of a certain color range without affecting the rest of your image, which can be helpful for things like changing clothing and eye colors.
Step 1
Open your image and add a Hue/Saturation Adjustment Layer. PanoPass members can download the image we're working with to follow along.
Make sure to delete the Layer Mask if it gets added by default.

Step 2
In the properties panel, switch from Master to Blue in the color range dropdown.
Set the Hue to +180 to make the changes more obvious for the next step.

Step 3
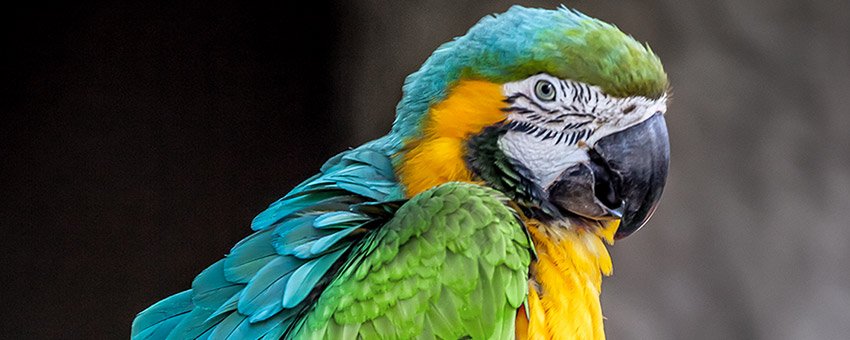
In the Properties panel, click the eyedropper icon with a + by it. Click and drag on all the blue feathers to add them to your Hue/Saturation selection.

Step 4
Set the Hue to -100 and the Saturation to -25 for a more realistic color change.

Step 5
Select your background layer in the Layers panel. Using the Quick Selection tool (W), click and drag to make a selection of everything except the green feathers.
Click Layer > Layer Mask > Hide Selection to create a Layer Mask based on your selection. The mask will make sure nothing outside of our bird gets recolored.

Final Image
Were you able to use this method to recolor your own image? Share your results in the comments.

