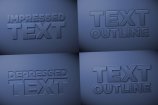
How to Create Letterpress Text Effects in Photoshop
Watch Video Tutorial
Download full HD videos and tutorial project files with a PanoPass. You'll also get instant access to everything on the site, including products, and more.
Letterpress text effects are a common, but sometimes tricky look to achieve. The good news is that it doesn't take a lot of time or effort once you know how to do it.
This tutorial will teach you how to create a couple useful letterpress text effects in Photoshop that you can adapt and reuse in almost any project.
Step 1
Letterpress text effects typically look best on a background with subtle texture and lighting. The background and layer styles for this effect are available in the project files for PanoPass members.
Create some large text on your background.

Step 2
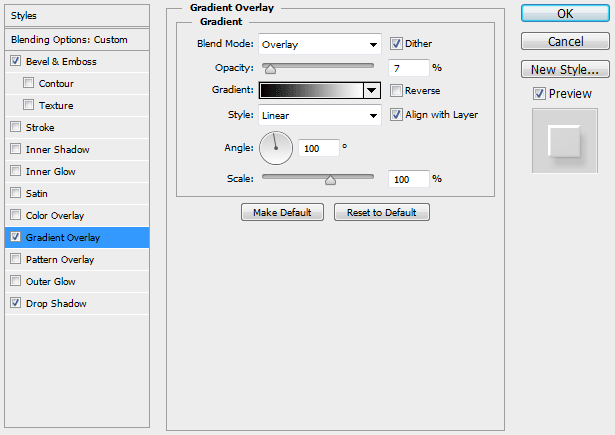
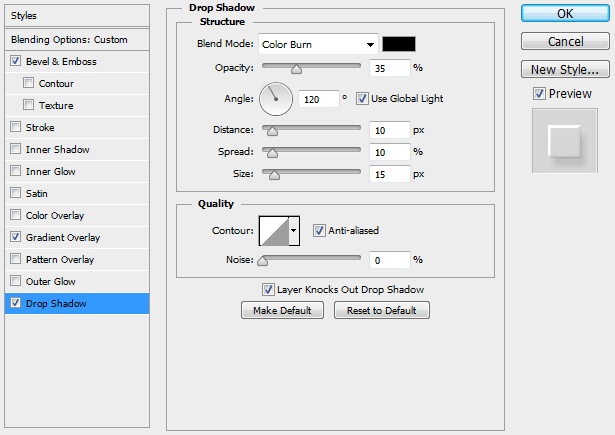
Set the Fill of your text to 0% in the Layers panel. Double click your layer in the Layers panel to open the Layer Style dialog and apply the following Layer Style settings.
You can adjust Distance and Size settings depending on the size of your document (ours is 1,920 x 1,080 pixels) and the desired intensity of the effect you want.


Step 3
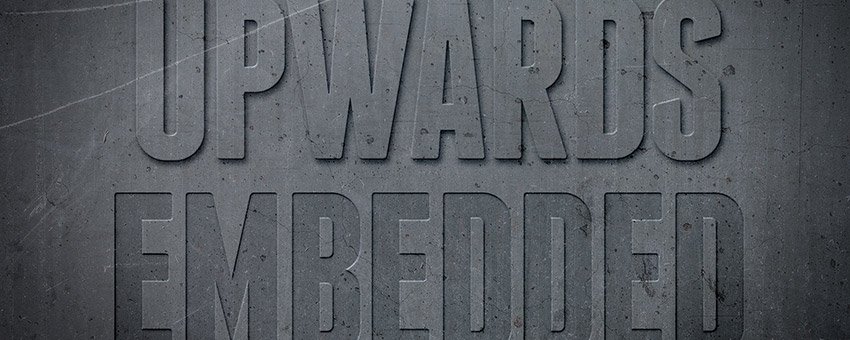
All it takes is a few Layer Style settings to create an upwards letterpress text effect. The process for an embossed effect is just as simple.
Create some next text and set the Fill to 0% in the Layers panel.
Apply the following Layer Style settings.
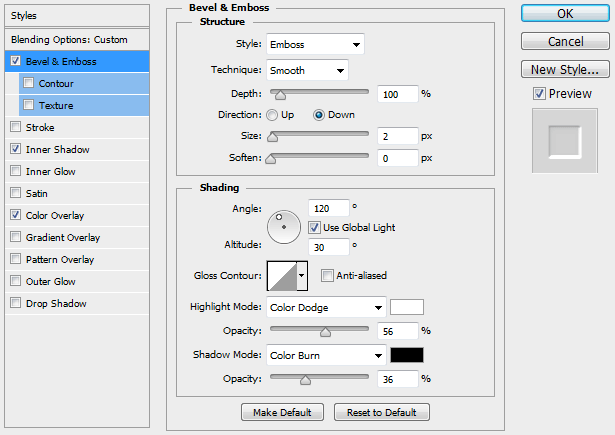
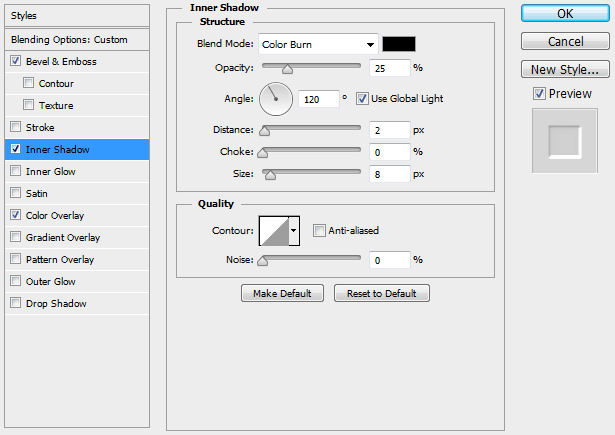
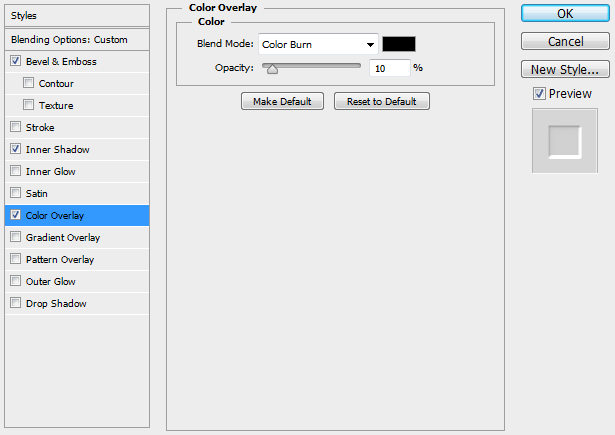

Final Image
I bet you thought it would take longer, right? Layer Styles are a great way to create simple 3D text effects like this.
Were you able to create your own realistic letterpress text effect? Share your version in the comments.


